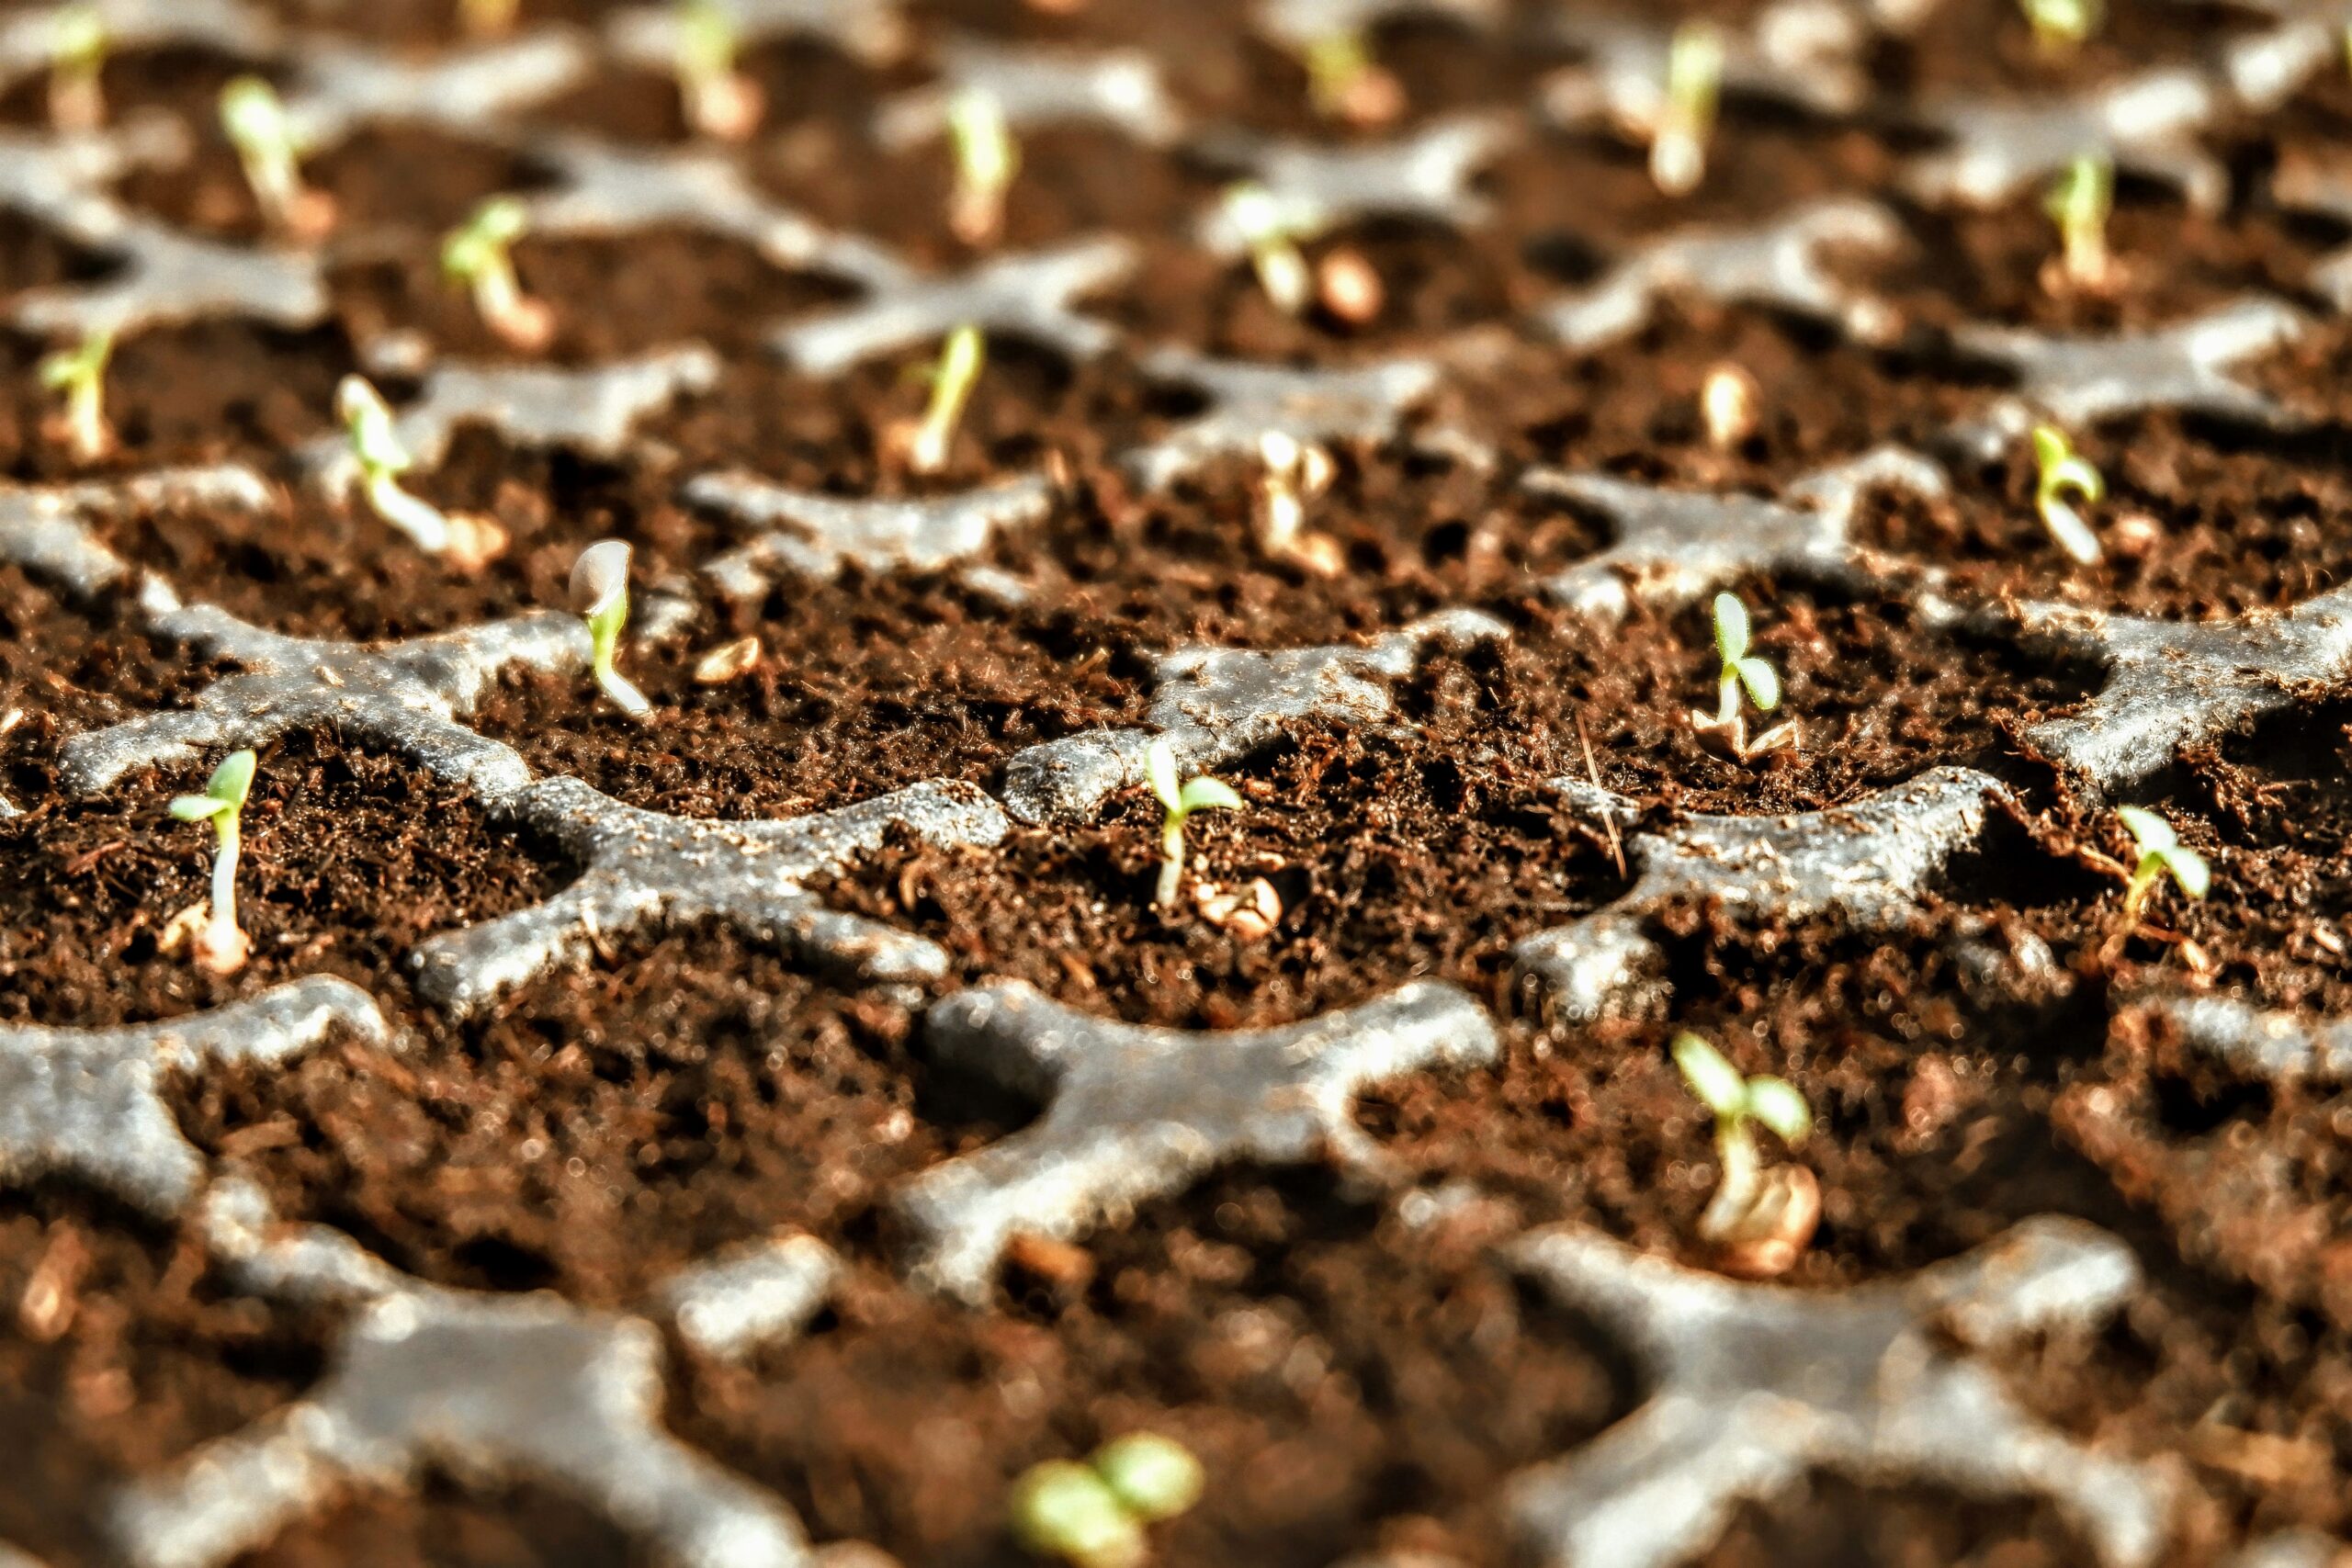
These seed starting basics will inspire and encourage you to get started in growing your own food. Starting seeds for your own garden is easy and very rewarding. Not only does it save money from buying already established plants, it gets your hands in the dirt and gives you something to do at the end of winter. If you’re anything like me, by the middle of winter boredom has set in. Honestly, I’m ready to get in the garden right after New Year’s. This is when I plan what I’m growing for the year, where I’m planting everything and when I need to get my seeds started.
In this seed starting basics post I will give you step by step instructions for starting your own seeds. But before we get to that, you need to know what growing zone you’re in. You can find your growing zone by looking up the USDA plant hardiness map or by entering your zip code on almanac.com/gardening/planting-calendar. Both of these sites will give you information like your last frost date in the spring and first frost date in the fall. These dates should be used as guidelines. I’m in Michigan, growing zone 5. That puts my last frost date around May 15th.
Throughout these next steps, you are going to need a notebook so you can keep track of your growing plans each year. You don’t need fancy charts or spreadsheets, unless that’s what you prefer. A regular spiral notebook will do.
Plan for Starting Seeds
Now that you have your notebook ready, you need to make a list of the vegetables you want to grow this season. This list should be divided into 2 columns, indoor starting and direct sown. If you have already purchased your seeds, the back of the packets will tell you if it’s best sown indoors. For example, tomatoes, peppers, onions, marigolds and eggplant will be started indoors. Pumpkins, cucumbers, winter and summer squash, carrots, beans, corn and peas will be direct sown.

Beside each name write down when the first planting date is for that vegetable. I always use the Farmer’s Almanac for this information. They already have it all figured out by zone and it is very easy to follow. For my garden, I go by the moon favorable planting dates. This is an age old practice of how the cycles of the moon affect plant growth.
Once your list is complete, you need to decide how many plants of each you want to grow. This will tell you how many sections in the seed starting trays you will need. Seed starting trays come in many different sizes and can be reused, if you clean them each year. If you choose not to purchase seed starting trays, you can still start your seeds in any container that will hold soil.
Supplies for Starting Seeds
Now it’s time for shopping. You will need seeds, seed trays and potting soil. You can find these items at your local dollar store, Walmart or home improvement center. There are a lot of people that advise against buying seeds at the dollar store but I have never had an issue with them. The only differences I have noticed is the packets may not have as many seeds in them and their price. Dollar store seeds are typically 2 packs for $1 and other brands can range anywhere from $2-$5 per pack.

Now that you have all your supplies and can’t wait to get started, there’s one last step. And it’s a crucial one. On the back of your seed packets you will notice instructions for starting seeds. It will tell you time frames like 6-8 weeks before transplanting. Some are 3-4 weeks. You will then need to count back the number of weeks specified, from the ideal planting you have already noted in your notebook. This will tell you when to start your seeds indoors. For example: My ideal planting date for peppers is May 19th. Counting back 8 weeks is March 24th for starting seeds.
Ready for Starting Seeds
Now that you have completed the steps for seed starting basics, you’re ready to start. Fill your seed trays with soil and set aside. Referring back to your notebook, choose a vegetable with the appropriate seed starting date and note how many you are starting. Put 2-3 seeds in each section at the depth specified on the back of the seed packet. Be sure to mark which seeds you started in the trays to avoid any confusion once they sprout. Next you will lightly water your seeds making sure not to flood them. Place the seed tray cover on top, mimicking a mini greenhouse. If you did not purchase the trays you can use plastic wrap. Place your trays in a warm area or on a heat mat. Check daily and keep moist.

Once your seeds have sprouted they will need light. The best option that I have used for this is a 4ft shop light that I attached to a shelving unit. The light should be no more than 2 inches away from your seedlings to prevent them from being leggy. You will need to adjust it as the plants grow. Be sure to mark your calendar for when you can transplant outside. The plants need to be hardened off before you move them out permanently but we will cover that in another post.
I hope this encourages you to begin starting seeds for your garden. Once you get the first season out of the way, you will look forward to doing it every year!
